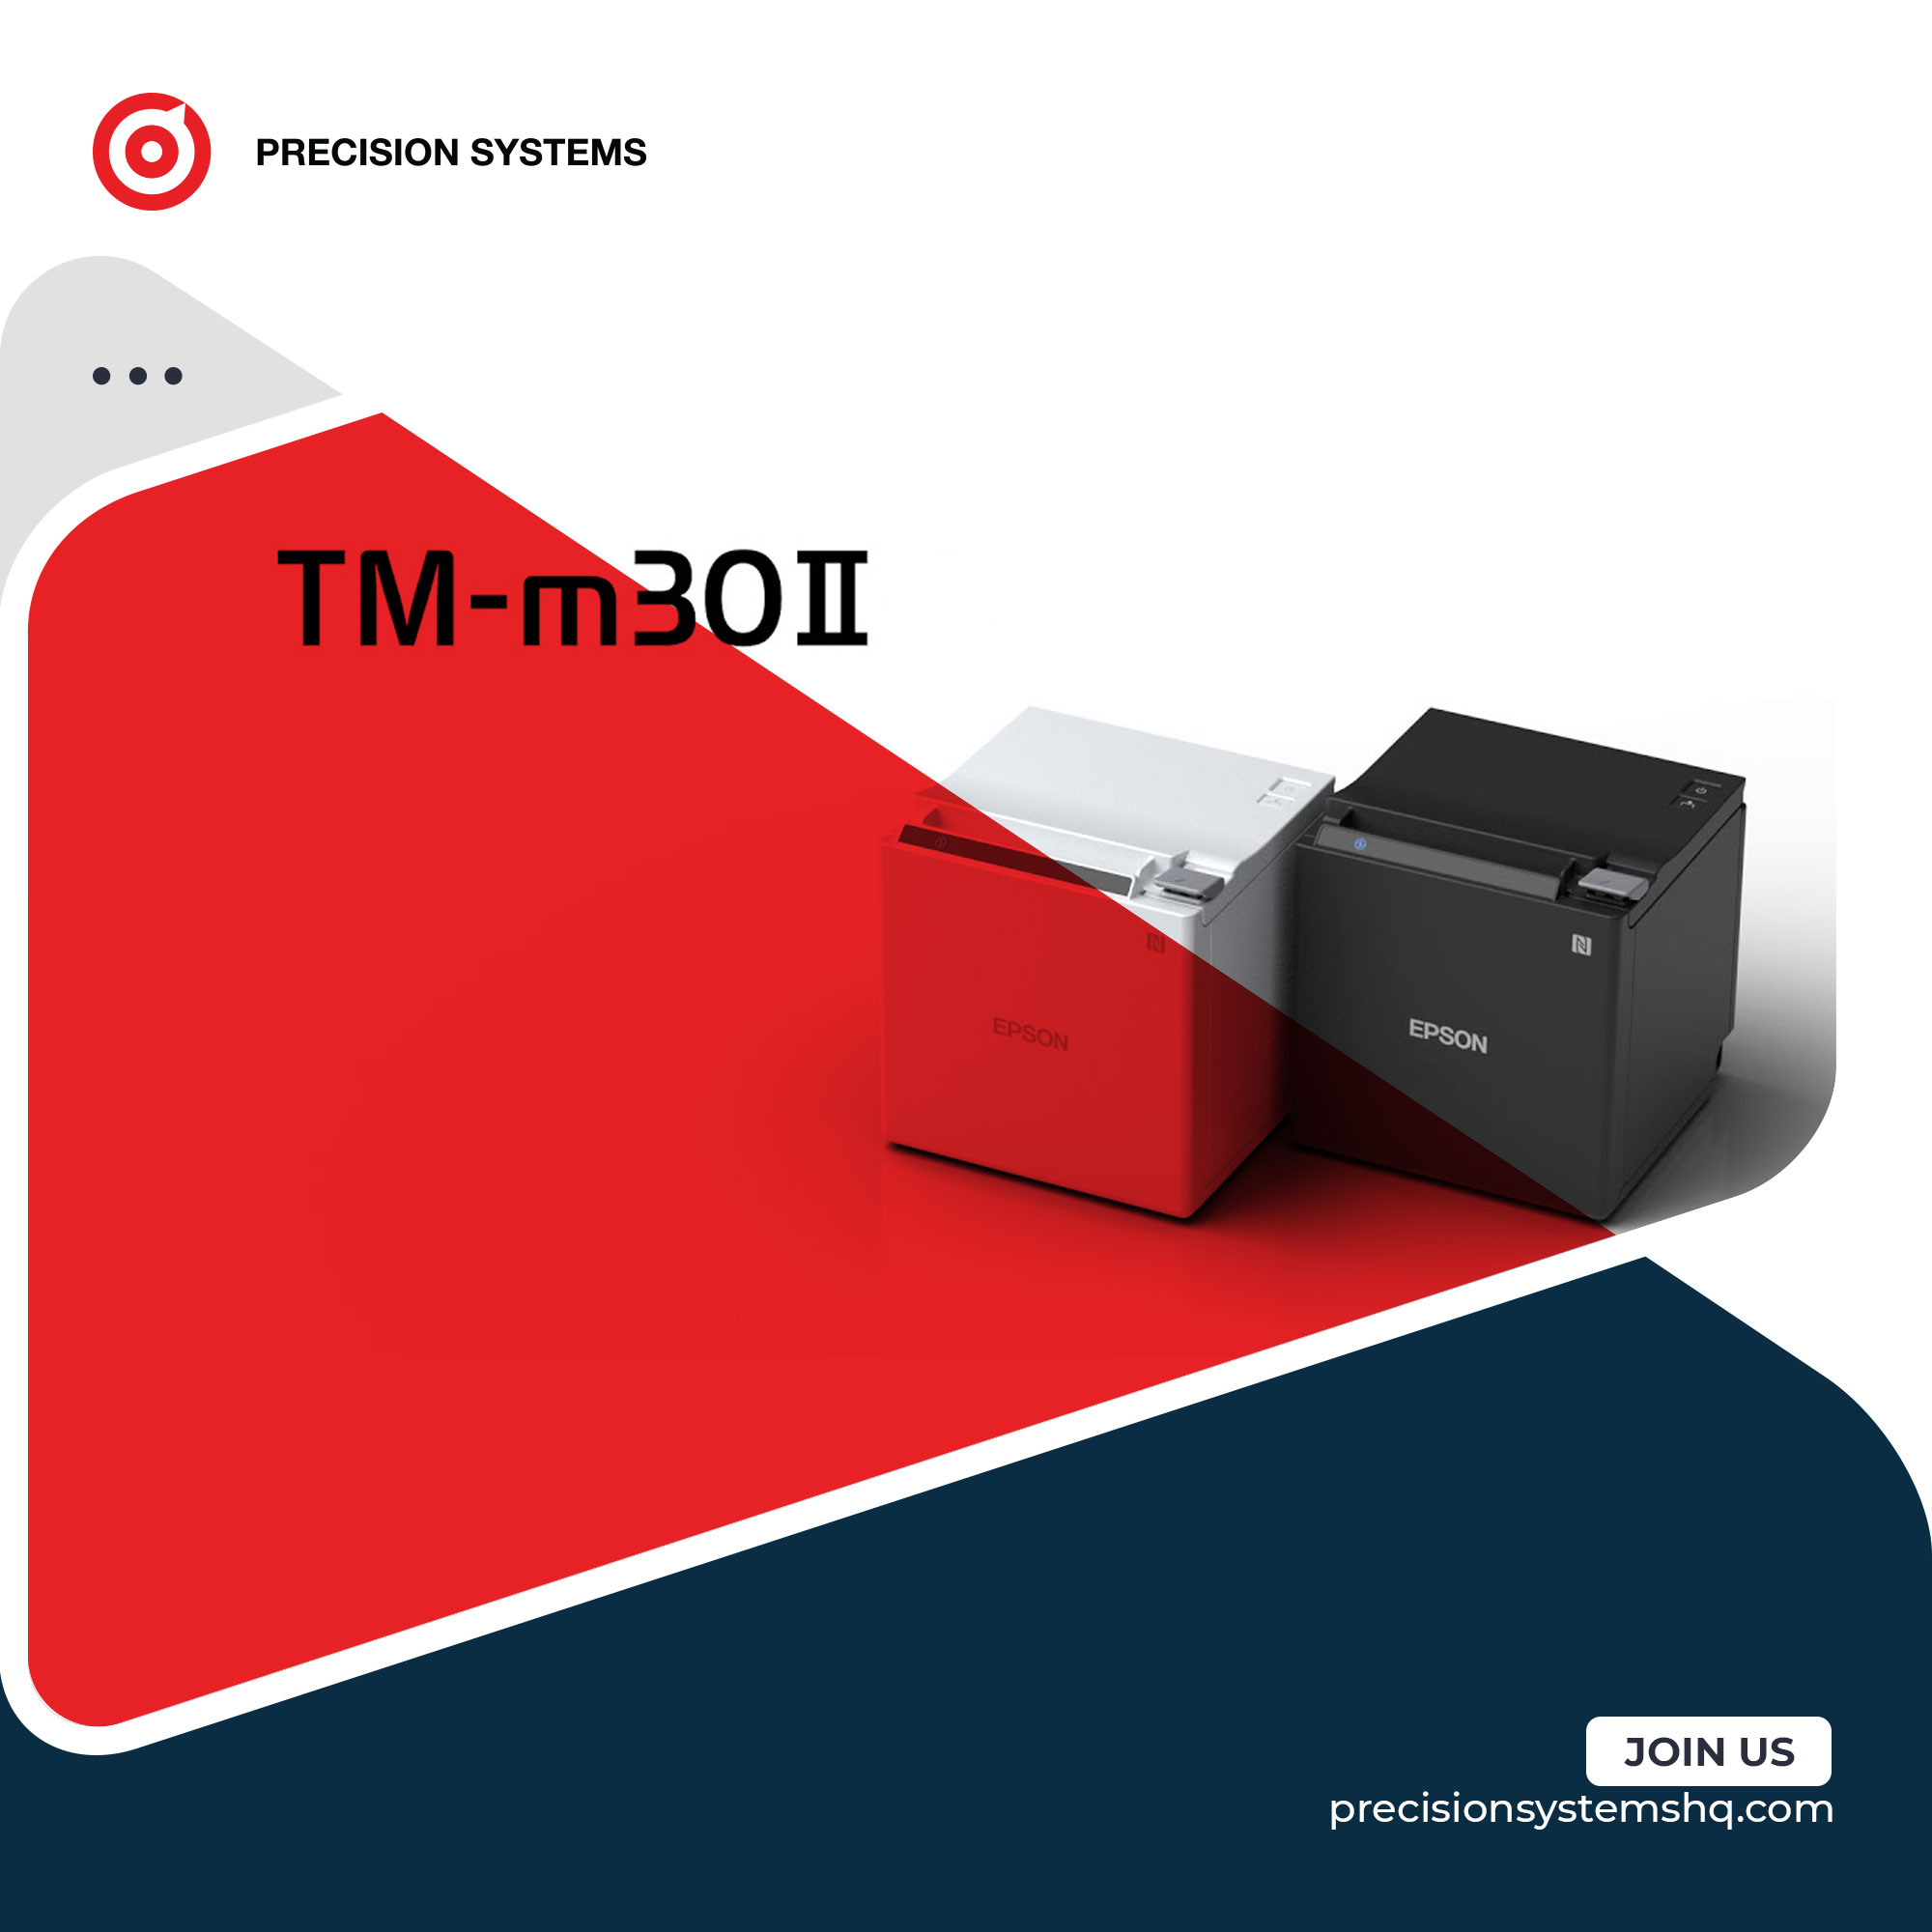
Setting up your Epson TM-m30II (Bluetooth) for iPad

Important
Updating to iOS 14+ on iPad will prompt you to grant the Precision POS application permissions to access Bluetooth and local network settings on your iPad.
If you refuse, your printer will not work. To resolve this issue, make sure Bluetooth and LAN permissions are enabled in Settings -> Precision POS on your device.
Device checklist:
In order to set up your receipt printer with your iPad, you must first ensure that you have all the necessary peripherals.
Cables
Since this is a Bluetooth device and does not require any cables to connect it to your iPad. The only cable you will need for your printer is the power cable.
Receipt rolls
Make sure your 80mm receipt rolls are ready to use. To load your receipt roll, open the latch at the top right of the printer, place the roll inside and pull out some of the paper before closing the lid.
Cash drawer (optional)
You can also set up your cash drawer at the same time, to do this you will need a specialized cash drawer cable. This is similar to a telephone line cable.
Before you begin:
Your printer must be in pairing mode or it will not pair with your iPad. If you see the message "Pairing Unsuccessful", hold down the PAIR button on the printer for 5 seconds, then try again.
iPad iOS (required)
Make sure the iPad is up to date and that there are no pending updates. The Epson printer must connect to an updated iOS device. To view it, tap Settings > General > Software Update
Connecting your Epson TM-m30II receipt printer to your iPad
You must first connect the printer to your iPad in the Bluetooth settings. To do this:
1. Open the Settings app on your iPad.
2. Tap the Bluetooth option under General Settings.
3. Make sure Bluetooth is turned on.
Checkpoint 1:
The Bluetooth slider should be green and tilted to the right. If the slider is to the left and gray, press again to make sure Bluetooth is enabled.
4. In the Bluetooth "Device List" on the iPad, tap the name of the printer you want to connect. Your printer name should look like 'TM-m30_030015'. The numbers after '_' may differ depending on your printer model.
Under "My devices", the printer should display the status "connected", confirming that the device is successfully connected.
Now that your printer is connected to your iPad, you are ready to add it to the Precision POS app. To do this:
1. Open the Precision POS app
2. From the menu bar at the top of your screen, select Settings >Printer > Add Printer, to generate the form for adding a printer:
3. Press the "Find" button and select your Epson TM-m30II Bluetooth printer. Your printer name should look like 'TM-m30_030015'. The numbers after '_' may differ depending on your printer model.
4. Enter a name for your printer. It can be anything you choose, such as "Cashier 1" or "Receipt Printer". Include your selection in the "name" field.
5. Press the "Brand" field
then choose "Epson" in the list of proposals that will be displayed
6. Under "Printer Type" you can enable or disable: Automatically print receipts at the end of the sale. If you do not activate the automatic printing of receipts, you must print manually when the receipt is needed. This is enabled by default.
NB: You can choose the number of copies of receipts you want to print for each sale from :
Settings > Printers > Number of prints according to the payment method:
Then choose (+) for additional printing or (-) as needed for each of the payment methods accepted in your store.
7. Click on Save to add your printer
Checkpoint 2:
Make a test sale to ensure your setup is successful. If your receipt does not print, go back to Checkpoint 1. Don't forget to cancel the test sale after your receipt prints!